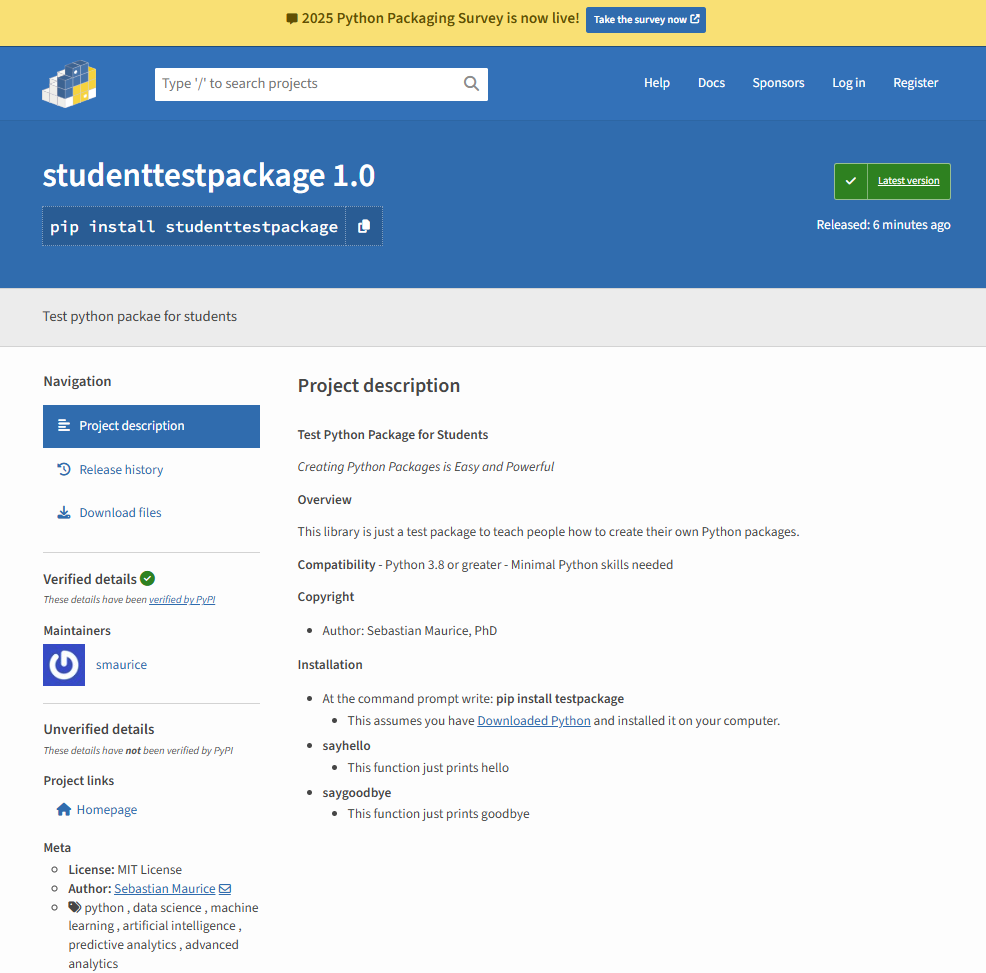
This site will inform you how to create your own Python Packages on Pypi.org . This is a global public site that is accessible to anyone around the world. It allows anyone to pip install <yourpackage>
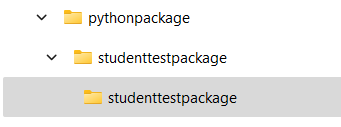
Create local folder on your machine. You can choose proper name. For our example, we will create a folder called: pythonpackage
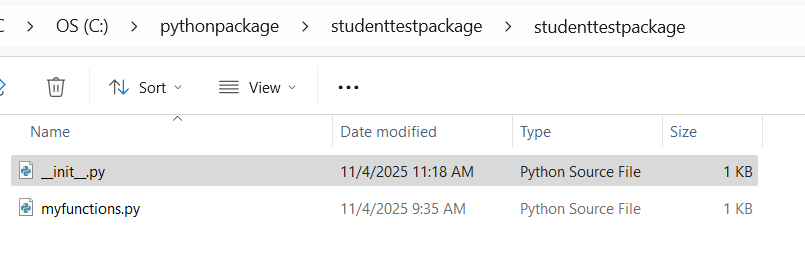
Inside pythonpackage create your package. For our example, we created studenttestpackage
Inside studenttestpackage create another folder with the SAME name: studenttestpackage
Important
You MUST choose your own unique python package name. You CAN NOT choose: studenttestpackage it is already an existing python package under a different username.
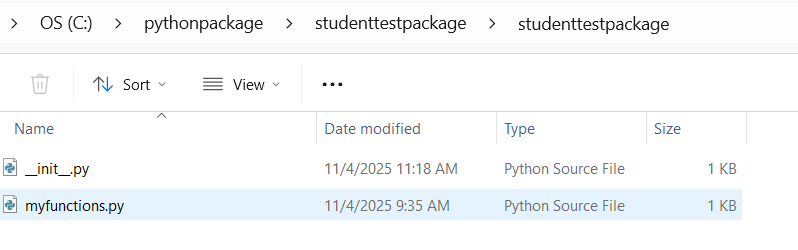
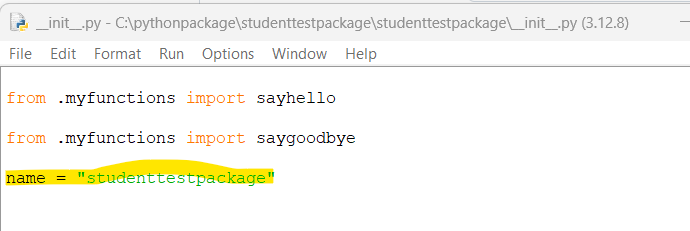
In the file c:/>pythonpackage/studenttestpackage/studenttestpackage/__init__.py
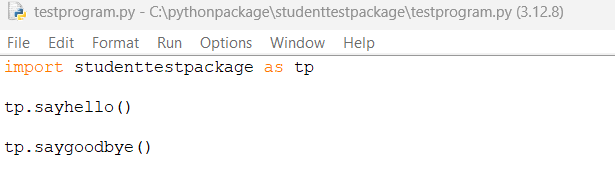
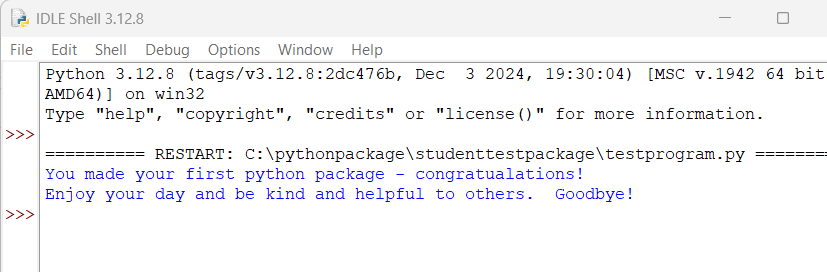
This is the file that EXPORTS your python function that you write. In this example all functions are defined in file myfunctions.py
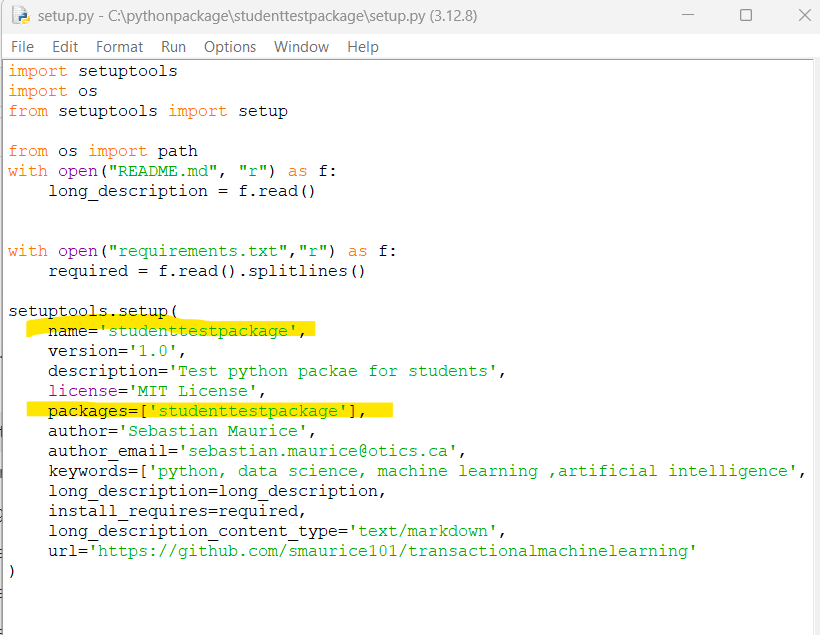
You MUST have the following:
name = “studenttestpackage” (THIS MUST MATCH THE NAME OF YOUR PACKAGE)
The function you define are exported in lines:
from .myfunctions import sayhello
from .myfunctions import saygoodbye
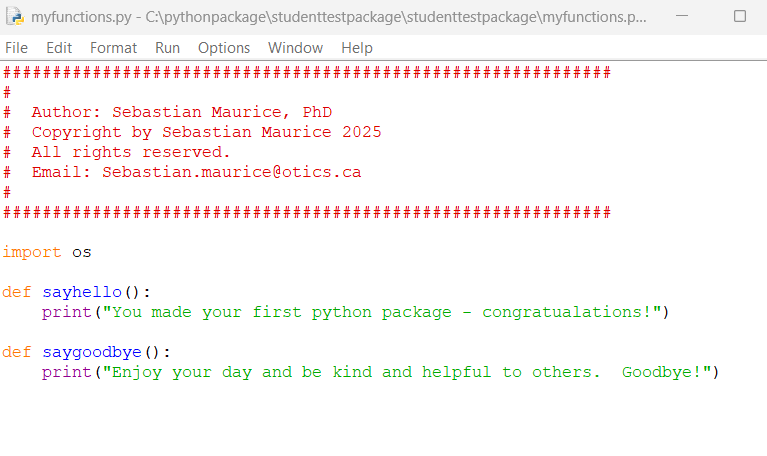
In the file c:/>pythonpackage/studenttestpackage/studenttestpackage/myfunctions.py
This is the file where you define your functions.
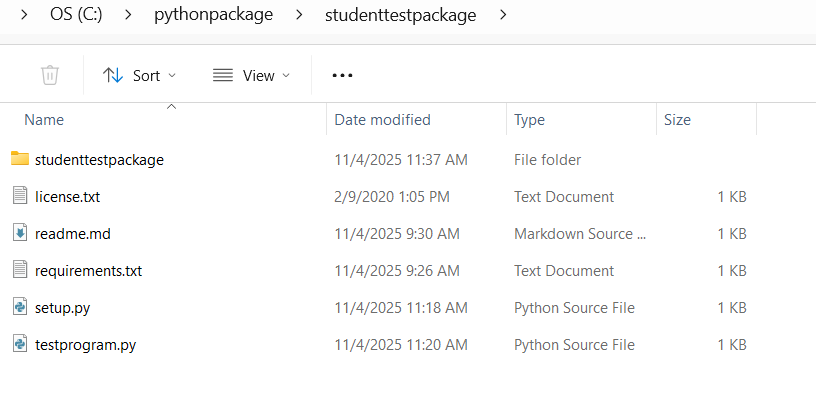
The other files in c:/>pythonpackage/studenttestpackage/
requirements.txt (This is where you can define additional packages you need and Python will automatically download them so users of your package DO NOT have to)
license.txt (This is the file you can define any licensing for your package)
readme.md (This is the file where you write the documentation for your package. For example, how to use the functions in myfunctions.py
The above files will produce a python package studenttestpackage - but you want to create a NEW python package for yourself. To do this you can easily modify the folders and files.
Important
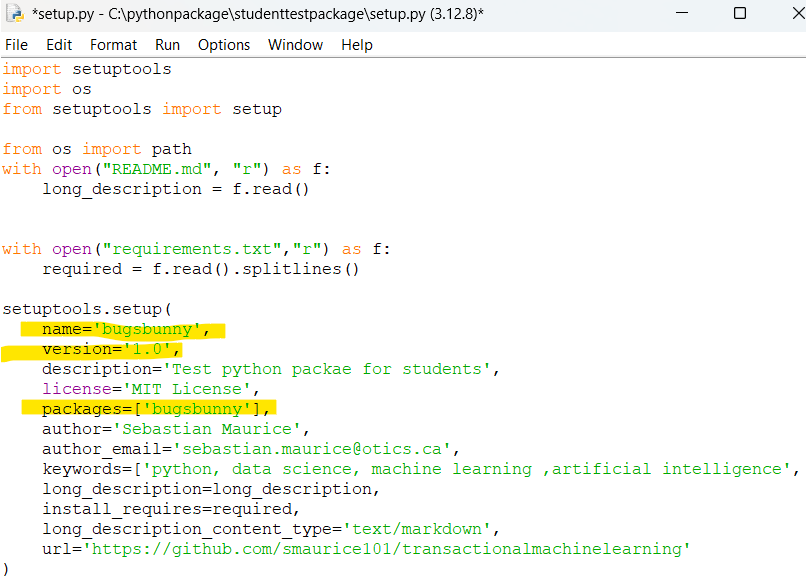
Everytime you make changes to your package you MUST provide a new version number in the setup.py
You want to create OWN Package. To the following:
Modify the name of the package: studenttestpackage to your desired name i.e. bugsbunny in steps 4.a and 4.b
Modify 9.a and 9.b to your new package name bugsbunny
name=’bugsbunny’, (THIS MUST MATCH THE NAME OF YOUR PACKAGE)
packages=[‘bugsbunny’], (THIS MUST MATCH THE NAME OF YOUR PACKAGE)
Modify 11.a
name = “bugsbunny” (THIS MUST MATCH THE NAME OF YOUR PACKAGE)